Your Custom Text Here
Introducing a new texture and a new wax
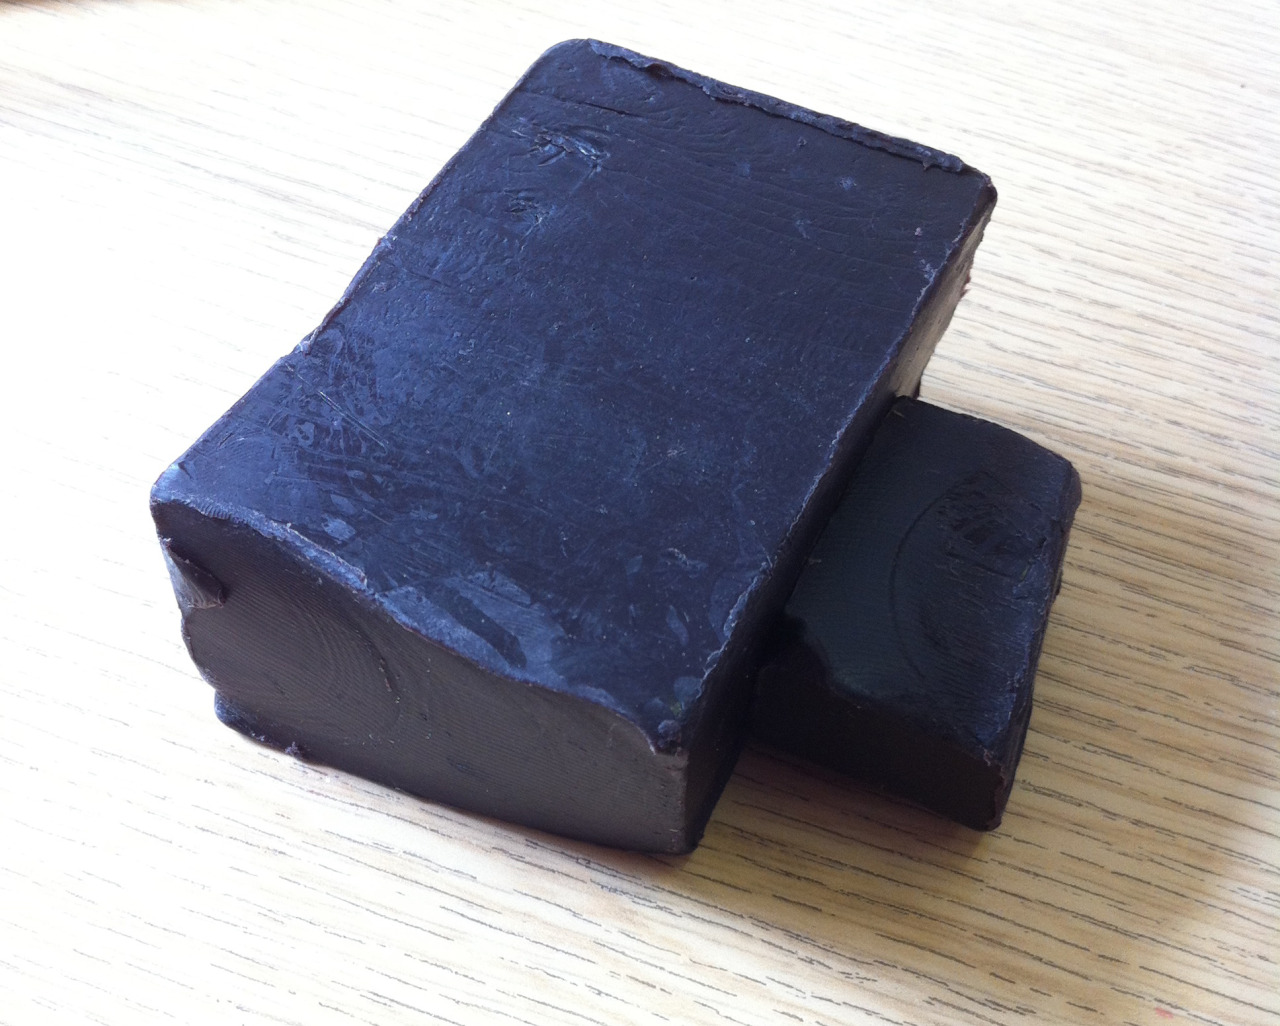


Introducing a new texture and a new wax.
The new wax that comes in a solid block works very differently from the red wax and much more like a polymer clay than a wax.
My first attempt at applying it was to pull of small sections from the block and apply it directly to the plaster core like building up an area of clay work. This didn’t work, I tried smoothing each of the pieces to adhere it to the first but the dusty surface of the plaster core prevented it from adhering and instead the back of the wax became covered in a powdery residue.
My next attempt was slicing it down into smaller sections and warming it up in the palm of my hand until it was able to be pinched and pushed into a small slab. When the wax slab was placed onto the core it still did not stick to the plaster but it did stick to the waxed thread.
With the next slice I warmed and flattened a larger piece and this, when applied to the core, stuck to more than one guide line of waxed thread and adhered much more successfully.
Beginnings of Woven Experiment No.60

The new plaster block of investment plaster ready for the next woven in wax which will be experiment no.60
Woven Experiment No.59 Oval woven form with a side split


Woven Experiment No.59 Oval woven form with a side split
The second experiment using a solid core of plaster, this time carved into an oval shape. Two guide lines of 6mm wax bands were first placed onto the oval and held in place with waxed thread and finally a weld with molten wax.
The form was then covered with layers of crochet leaving two slits down either side of the oval.
The weave went on more easily this time as I worked the top first, then turned over the form and placed it in my lap to add wax to the underside. This allowed me to work without worrying about the other side slipping off, but the heat from my lap softened the wax and the wax beca to flatten a little.
To remedy this I created a soft box which the sculpture could be placed into whilst I worked the underside using a box filled with polystyrene chipping and a layer of bubble wrap. The wax didn’t soften this time but it still continued to flatten.
The resulting woven form has a more successful weave application, but I don’t think the 6mm bands welded together are working to well aesthetically, maybe there is a neater method of creating the guide lines.
Woven Experiment No.59

Solid plaster core cast and carved ready for the next woven experiment
Casting Plaster for lost-wax - Part 2
After some careful thought I now had a plan of how to cast the investment plaster blocks in a rubbery bucket without the sides expanding and the plaster becoming stuck.
Idea - Line the sides of the bucket with polystyrene packing chips and plastic.
Using a slightly larger bucket this time, I prepared for my next batch of investment plaster.
Step 1 - Line the bucket with a sheet of thick polythene then pop in a smaller bucket inside so that the polythene is trapped between two buckets.
Step 2 - Carefully fold the polythene sheet over the edge and into the inner bucket to leave a small gap around the inner bucket.
Step 3 - Fill the small gap with packing chips with the idea that when the plaster expands horizontally it will squash the chips and not stretch the bucket.
Step 4 - Carefully unfold the polythene sheet out of the inner bucket and over the sides of the outer bucket, and slowly remove the inner bucket leaving behind a bucket lined with chips and polythene sheeting.
Step 5 - Pour the plaster mix into the bucket and vibrate to remove the bubbles.
Step 6 - Leave to set for 2 hours, then simply lift the polythene sheet out of the bucket which should pull out the plaster block with it, simple?
Well it sounded like a good plan at the time and it all went smoothly until step 5, once the bucket was placed on the vibrating plate and it was switched on all the plaster chips vibrated up the side of the bucket and escaped over the top.
After the 5 minutes of vibrating was over I had to swiftly collect all the escapees and squash them back into the bucket trying not to disturb the plaster.
This method did however have some degree of success, once the plaster was set it was very easy to lift the cast block out of the bucket using the polythene sheeting. Take a look at the pictures, the sides of the plaster look great but unfortunately they will need to be carved away.
There must be a better method than this, something that can be squashed but doesn’t shake out of the bucket.
Results of weaving onto plaster forms
Weaving Experiment No.53 - the opening is very small in the centre and very difficult to get my hand into the form to apply the weaving. Also the small gap in the centre could be an area that an air bubble could become trapped when the work becomes invested ready for casting. I think I should discuss this further with the foundry.
Weaving Experiment No.54 - This is not working, the weave is not sitting into the concave areas of he plaster carving. I could potentially drill a series of fine holes through the plaster and pass fine cotton through as a way to pull the weave into the concave areas and hold it tight against the plaster surface. The tiny holes, however could allow air to be trapped and this may cause explosions in the casting process.
Weaving Experiment No.55 - Success! The shape has worked very well with the weaving applied over the surface and a taught weave was achieved. Thick areas could be created, fine open areas could also be applied that fits snugly against the plaster surface.
Moving forward, if a hole is within the design it should be large enough to allow the weaving to easily pass through the and also to allow fingers to be able to work in the void.
Shapes should be convex and not concave as the weave will not pick this up, unless I can find another method of weaving wax onto a concave area.
Woven Experiment No.56 - Carved Plaster form bound with crochet chain stitch

Woven Experiment No.56 - Carved Plaster form bound with crochet chain stitch in orange 1mm waxed cotton thread
The wider hole has worked well in allowing the weave to pass through the plaster. The convex shape is working well and the weave is fitting to the surface snuggly, but the weave is not working over the pointed parts of the plaster. This area would be lost when the casting takes place but does it matter?
Would it be noce to keep a solid and a weave? It would be an interesting contrast to have a solid form bound in a chainlike weave or pattern.
Woven Experiment No.55 - Carved Plaster form

Woven Experiment No.55 - Carved Plaster form bound with crochet chain stitch in green 3mm thread
Woven Experiment No.54

Woven Experiment No.54 - Carved Plaster form bound with crochet chain stitch in pink 2mm thread
Woven Experiment No.53

Woven Experiment No.53 - Carved Plaster form bound with crochet chain stitch in pink 2mm thread