Your Custom Text Here
New Idea for sculpture


New idea
If you can remember back when I cast my first piece of investment plaster and it got stuck in the bucket, well when it finally came out of the bucket it wasn’t usable so I put it to one side.
I had a unused block, a tub of wax end pieces and my wax welder and I kept returning to them during my research wondering if there is something I could do with them. Last year I attended a great course at YSP (Yorkshire Sculpture Park) on casting wax from clay originals. One of the pieces of equipment wax a wax kettle for melting large quantities of wax for pouring into plaster moulds. I wondered, could I carve the waste section of plaster and the cover it with melted wax? Yes, possibly but two problems, first I don’t have a wax kettle and second how do you safely pour molten wax over an item?
Then the idea struck, I have a welder, why can’t I turn up the temperature and simply touch the wax to the tip to melt it, then catch the drips on the plaster.
It works so I will go and melt and report back.
Woven Experiment No.68 - Smooth and texture
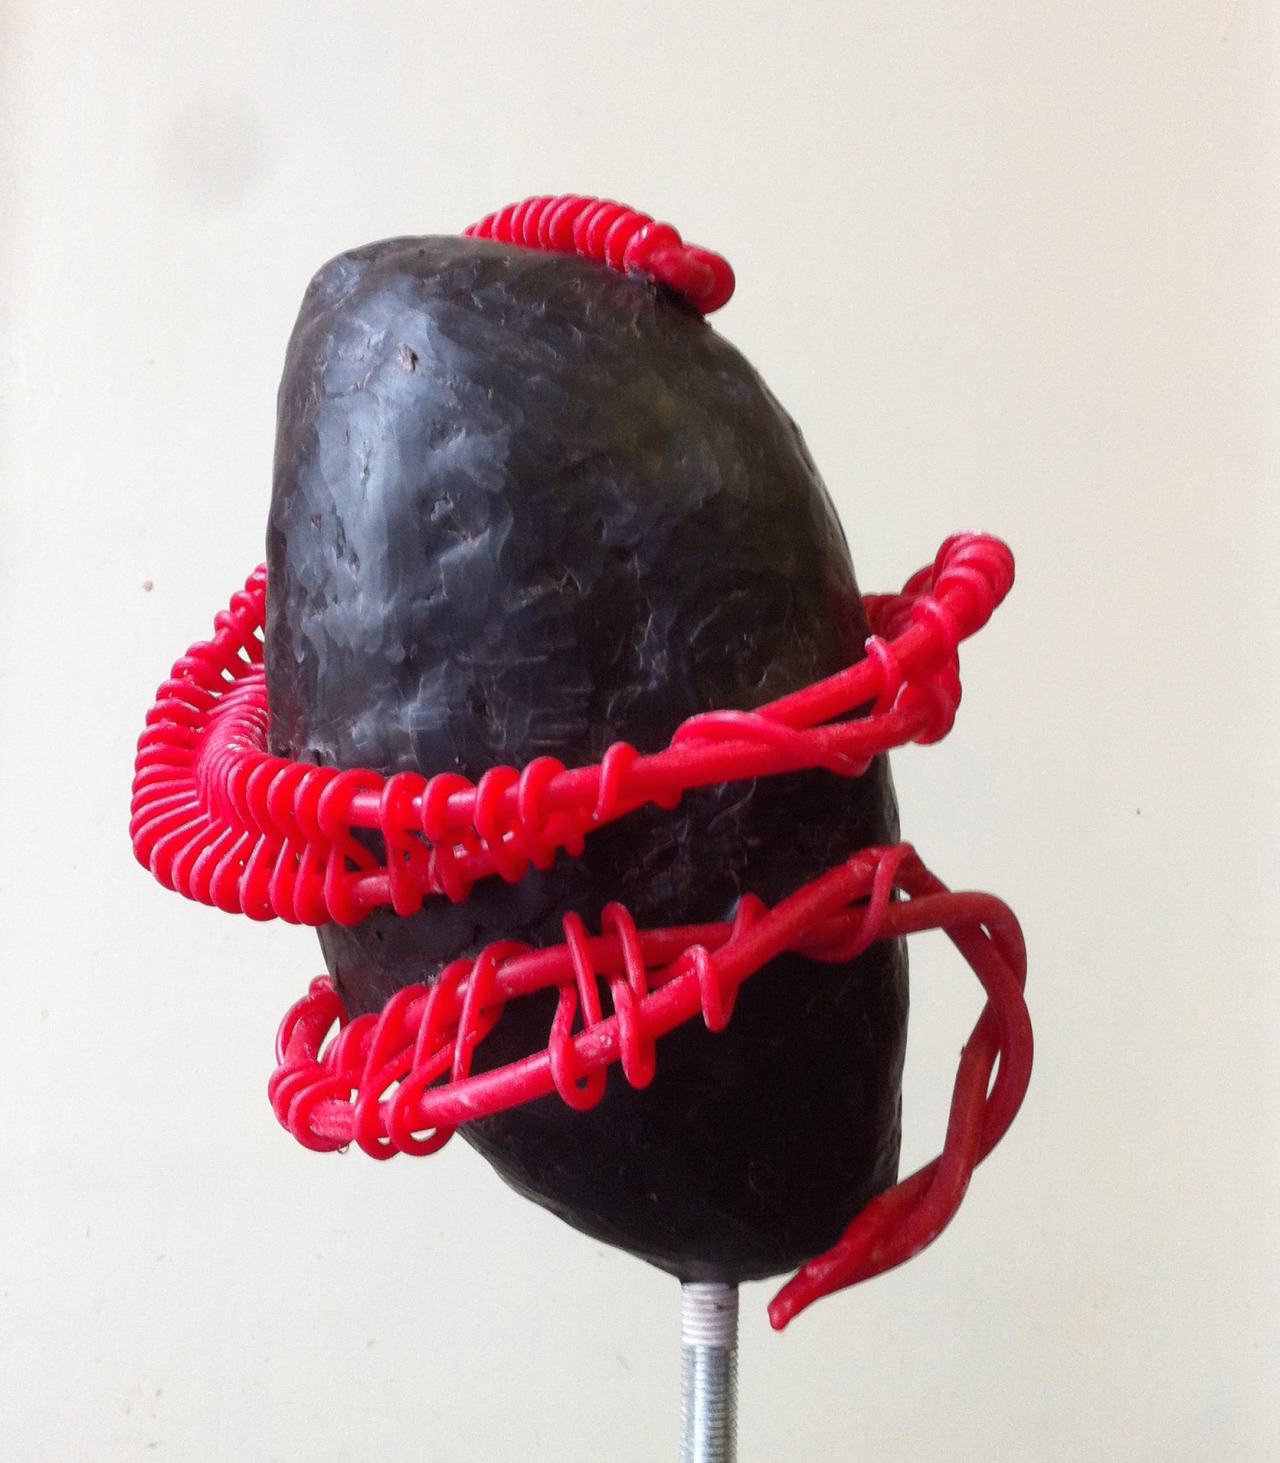


Woven Experiment No.68 - Smooth and texture
With this experiment I wanted to try and combine the texture of a woven section with a smooth area to see what results the combination would create.
A solid core of plaster was cast and carved into an oval form, then a covering of smooth wax and then a detail figure 8 swirl wrapping around the form.
With this experiment I found I had a more finished look than with any other piece so far. It required very little welding on the red wax as the weaving was made using a continuous length of 3mm wax.
The sticky wax smoothes to a degree with the fingers but it can cause drag. Using a tea spoon heated in boiling water seems to work to smooth out areas. But the question is how much to work something? should the smooth wax be completely void of marks or would it add to the sculpture to leave behind finger prints, dints and other small features?
Introducing a new texture and a new wax
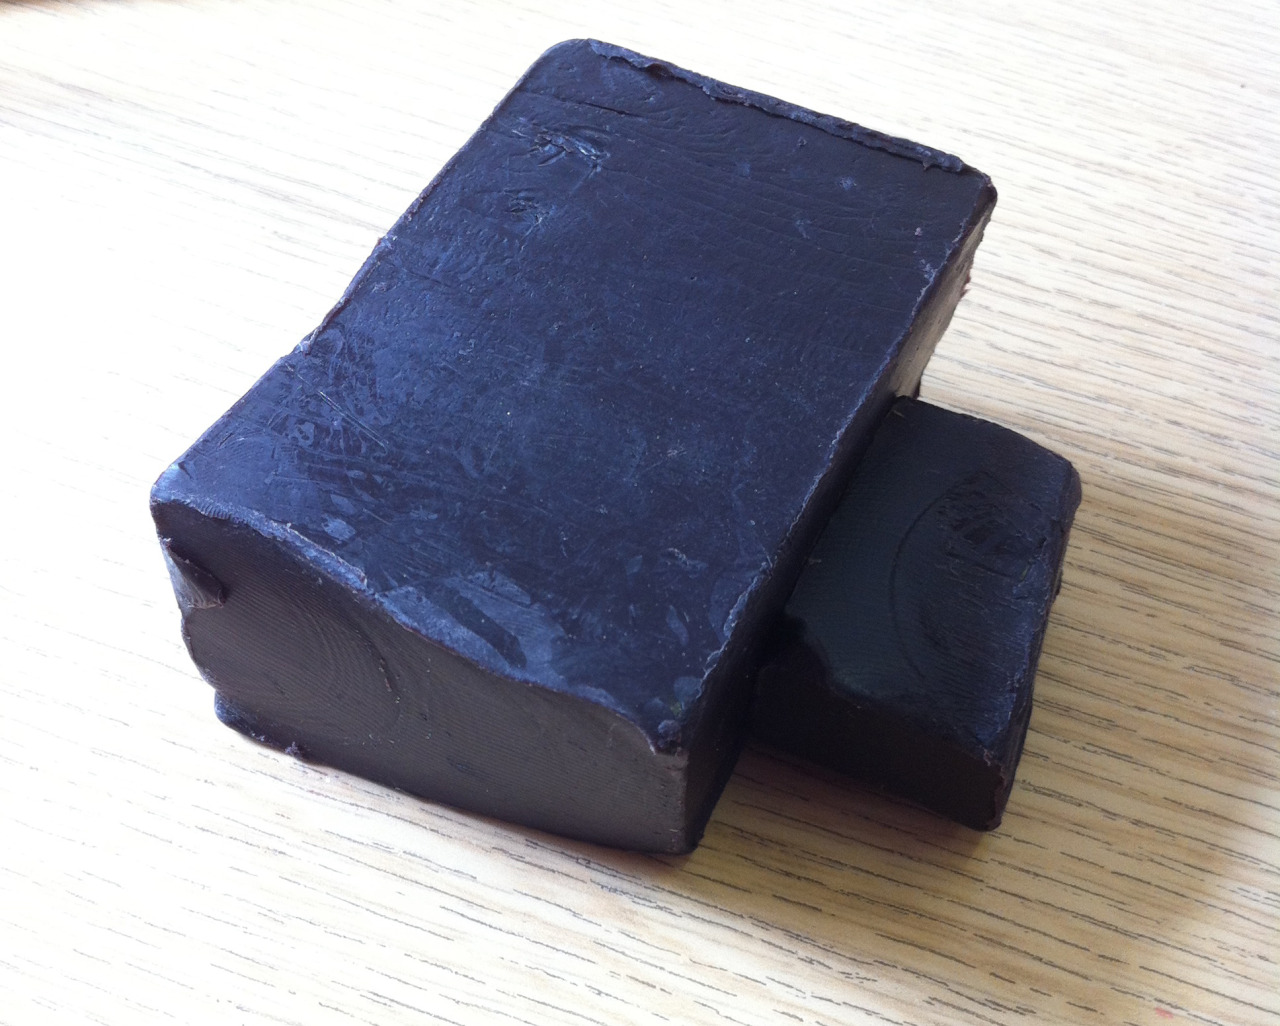


Introducing a new texture and a new wax.
The new wax that comes in a solid block works very differently from the red wax and much more like a polymer clay than a wax.
My first attempt at applying it was to pull of small sections from the block and apply it directly to the plaster core like building up an area of clay work. This didn’t work, I tried smoothing each of the pieces to adhere it to the first but the dusty surface of the plaster core prevented it from adhering and instead the back of the wax became covered in a powdery residue.
My next attempt was slicing it down into smaller sections and warming it up in the palm of my hand until it was able to be pinched and pushed into a small slab. When the wax slab was placed onto the core it still did not stick to the plaster but it did stick to the waxed thread.
With the next slice I warmed and flattened a larger piece and this, when applied to the core, stuck to more than one guide line of waxed thread and adhered much more successfully.
Introducing a new texture

Following on from my previous post, I wanted to challenge myself to create a sculpture experiment that features both smooth and texture.
I have created a solid core, carved the shape and attached a series of guide lines of waxed thread around it used to anchor the texture.
The texture is a length of 6mm wax bent at the centre point, then taking a length of 3mm wax I have created a figure 8 weave down the length go the parallel lines. At some points I have allowed the weave to tighten and bring the parallel lines together, and at other points allowed it to widen to create interest along the length.
It has been very difficult to firstly decide how to display the weaving around the form, and secondly how to attach it without it falling off. The guide lines had to be re-applied twice as they too kept slipping off the plaster.
Eventually the weaving is attached, now for the smooth areas.
Casting plaster for Lost Wax - Part 4
I have now created 3 wax pieces that are worked over a solid plaster core to varying degrees of success. The process of making the core is very lengthy; preparing the casting bucket, mixing the plaster, vibrating the plaster, fixing in the metal arm and letting it set. Once set there is a lot of carving and shaping work to get the desired shape with a lot of waste material.
Is there a better method?
I’ve had a few ideas of how to either reduce time or materials or both.
1. Balloons - Filling a strong balloon with the plaster that would give a nice smooth shape without the need to carve. How would the balloon withstand the vibrating? Could the metal arm still be fixed into the plaster?
2. Cardboard - Make the shape in thick cardboard, reinforced with parcel tape. The plaster is poured in and the card can be cut away once set. There still would be some degree of carving to finish
3. Lego Bricks - One of my artist friends who makes Glass art uses Lego bricks to make her walls for plaster casting. Would this be able to withstand the vibrations?
4. Sand Casting - Now I know this would not work as the vibrations would dislodge the sand.
5. Plastic Bags - Much like the ballon idea could a bag be moulded in some way by knotting off areas of the bag to create the rough shape? This would need support during vibrating, perhaps with foam. Or would the bag simply sag into the foam. Perhaps the bag could be suspended?
6. Latex Moulds - This is a method that once a shape had been designed could be used repeatedly to create a shape that is smooth, requires no carving and most importantly reduces waste and therefore reduces cost of materials. Only snag, I don’t know anything about making latex moulds.
Conclusion-I need to try some of these and research the others.
Woven Experiment No.65 - Larger open freeform without a core


Woven Experiment No.65 - Larger open freeform without a core
The aim of this experiment was to see if a larger form could be woven without the use of a core and if it would hold itself without sagging. It began with lengths of 6mm wax held together with figure 8 weaving in 3mm wax. The spaces left between the guide lines were then filled with crochet work.
There were movement in the wax and it required a more delicate touch with the wax, but the result is much more fluid than working the wax over a core. It is more organic in appearance and the weaving is more open and light.
My only concerns if the weave is too open, will this cause a problem for the foundry? will it cast well?
There is a degree of movement even after the piece is complete, so to hold the shape I have inserted a plastic bag in the inside space and filled it with polystyrene chipping, and then fastened the bag. It seems to be holding well, the foundry may even be able to invest the outer areas of the piece first, then remove the bag and its contents before completing the investment stage.
Weaving on a Plaster Core, the results so far
So far the results of the three weaves on plaster have been varied and have created more problems than solving them. Heres some of the problems I have encountered:
1. The lack of the visible negative space has meant it is very difficult to view the effect of the sculpture.
2. The plaster core is heavy and is mounted on a cross plate. The piece can be spun around but only on one axis and I have gotten so used to be able to turn my pieces in any direction to allow the weave to flow across the surface.
3. The underside of the sculpture sags so to prevent this happening each piece has to be bound with strips of plastic to prevent movement. Alternate fixing is using lengths of waxed thread but I am concerned about over using the thread incase it prevents a clean burn out at the next stage of the lost wax casting.
4. Using a thick guide line works well at the beginning of the weaving process to mark out the shape you wish to create with your weave, but when you need to anchor the main weave to the guide it requires a degree of give which it doesn’t have. If the guide line was first applied with ample room for anchoring the later weaving then this would solve the problem, but it creates another as the guide line would simply fall off the plaster core.
Does this method of solid core casting need to have a core of plaster?
Can the core be added at a later stage and a more flexible light weight core be used?
Beginnings of Woven Experiment No.60

Beginnings of Woven Experiment No.60 using a figure 8 weave to fasten the two guide lines together.
Beginnings of Woven Experiment No.60

The new plaster block of investment plaster ready for the next woven in wax which will be experiment no.60
Woven Experiment No.59 Oval woven form with a side split


Woven Experiment No.59 Oval woven form with a side split
The second experiment using a solid core of plaster, this time carved into an oval shape. Two guide lines of 6mm wax bands were first placed onto the oval and held in place with waxed thread and finally a weld with molten wax.
The form was then covered with layers of crochet leaving two slits down either side of the oval.
The weave went on more easily this time as I worked the top first, then turned over the form and placed it in my lap to add wax to the underside. This allowed me to work without worrying about the other side slipping off, but the heat from my lap softened the wax and the wax beca to flatten a little.
To remedy this I created a soft box which the sculpture could be placed into whilst I worked the underside using a box filled with polystyrene chipping and a layer of bubble wrap. The wax didn’t soften this time but it still continued to flatten.
The resulting woven form has a more successful weave application, but I don’t think the 6mm bands welded together are working to well aesthetically, maybe there is a neater method of creating the guide lines.