Your Custom Text Here
Casting Plaster for Lost-wax - Part 3
The experiments so far trying to cast a block of investment plaster have been varied and I am determined to get this right. So the mix recipe is working, I am getting a smooth plaster, but when casting I need to consider the horizontal expansion especially when using rubber buckets.
Sometimes the answer can appear where you least expect it. I was taking out some rubbish to the large bin outside. The bin is shared between all the studios at the Ferrers Centre and it was almost overflowing being bin day. Sticking out the top was a collection of foam sheets, one of the studios has a Upholsterer and they must have stripped an old seat and discard the foam to replace it with new foam. Thats when I had my eureka moment, the problem with my last experiment was choosing polystyrene chips to line my bucket, but they vibrated out of the bucket, but foam would not vibrate out. I took the foam.
New plan
Step 1 - Line the larger bucket with sheets of upholstery foam, then line with polythene sheeting
Step 2 - Pour in the plaster mix, vibrate and leave to set
I have now lined my bucket with the sheets of foam and lined it with plastic, easy so far. I have mixed up a batch of plaster and poured it into the prepared bucket and placed it on the vibrating plate.
Success! the vibrating does not dislodge the foam and it is working so far. Just go to wait 2 hours until its set to see if my plan has worked.
Fingers crossed


Casting Plaster for lost-wax - Part 2
After some careful thought I now had a plan of how to cast the investment plaster blocks in a rubbery bucket without the sides expanding and the plaster becoming stuck.
Idea - Line the sides of the bucket with polystyrene packing chips and plastic.
Using a slightly larger bucket this time, I prepared for my next batch of investment plaster.
Step 1 - Line the bucket with a sheet of thick polythene then pop in a smaller bucket inside so that the polythene is trapped between two buckets.
Step 2 - Carefully fold the polythene sheet over the edge and into the inner bucket to leave a small gap around the inner bucket.
Step 3 - Fill the small gap with packing chips with the idea that when the plaster expands horizontally it will squash the chips and not stretch the bucket.
Step 4 - Carefully unfold the polythene sheet out of the inner bucket and over the sides of the outer bucket, and slowly remove the inner bucket leaving behind a bucket lined with chips and polythene sheeting.
Step 5 - Pour the plaster mix into the bucket and vibrate to remove the bubbles.
Step 6 - Leave to set for 2 hours, then simply lift the polythene sheet out of the bucket which should pull out the plaster block with it, simple?
Well it sounded like a good plan at the time and it all went smoothly until step 5, once the bucket was placed on the vibrating plate and it was switched on all the plaster chips vibrated up the side of the bucket and escaped over the top.
After the 5 minutes of vibrating was over I had to swiftly collect all the escapees and squash them back into the bucket trying not to disturb the plaster.
This method did however have some degree of success, once the plaster was set it was very easy to lift the cast block out of the bucket using the polythene sheeting. Take a look at the pictures, the sides of the plaster look great but unfortunately they will need to be carved away.
There must be a better method than this, something that can be squashed but doesn’t shake out of the bucket.
Casting Plaster for Lost-wax - Part 1
My research into solid body casting has reached the final stage and I am now ready to start creating the final works in wax. Before I can begin the wax weaving I need to create my plaster cores from blocks of investment plaster, carve them into the required shape and fit a metal arm through the centre of each block.
The plaster suppliers and the foundry suggested a 38% plaster/water ratio but this recipe seemed to me to be too much plaster and not enough water. After careful working out it seems that this ratio of 100% powder to 38% water is the mix favoured by the foundry for their investments, so it must be correct. I still have my doubts as I generally use a 50% mix when casting my fine casting plaster blocks for carving.
The technical data sheet also suggested a water temperature of 20-30°c and a mixing time of 8-10 minutes and a setting time of 10-15 minutes.
I carefully measured out my water and made sure the temperature was between the desired temperatures, then began adding the plaster using the sifting method of gently scattering the plaster onto the surface of the water. When 2/3rd’s of the way through the measure of plaster, peaks began forming on the surface of the water, which generally means the water can’t take any more plaster, but I still had plaster left over. Deciding to stick to the provided recipe I continued sifting more plaster until I had added the required amount and it now sat upon the surface of the water and did not want to be absorbed.
Stirring the plaster to combine the water and plaster fully was very difficult and was the consistency of thick porridge, but after 2 - 3 minutes of stirring the plaster did become smoother and resemble a thick custard.
To remove the bubbles I placed the plaster mix on my new vibrating plate (or as readers of my blog will have read, my fat busting weight loss machine) for 5 minutes of vibrating to bring any bubbles to the surface.
After vibrating I left the plaster to set for 2 hours as suggested, thats when the problems occurred.
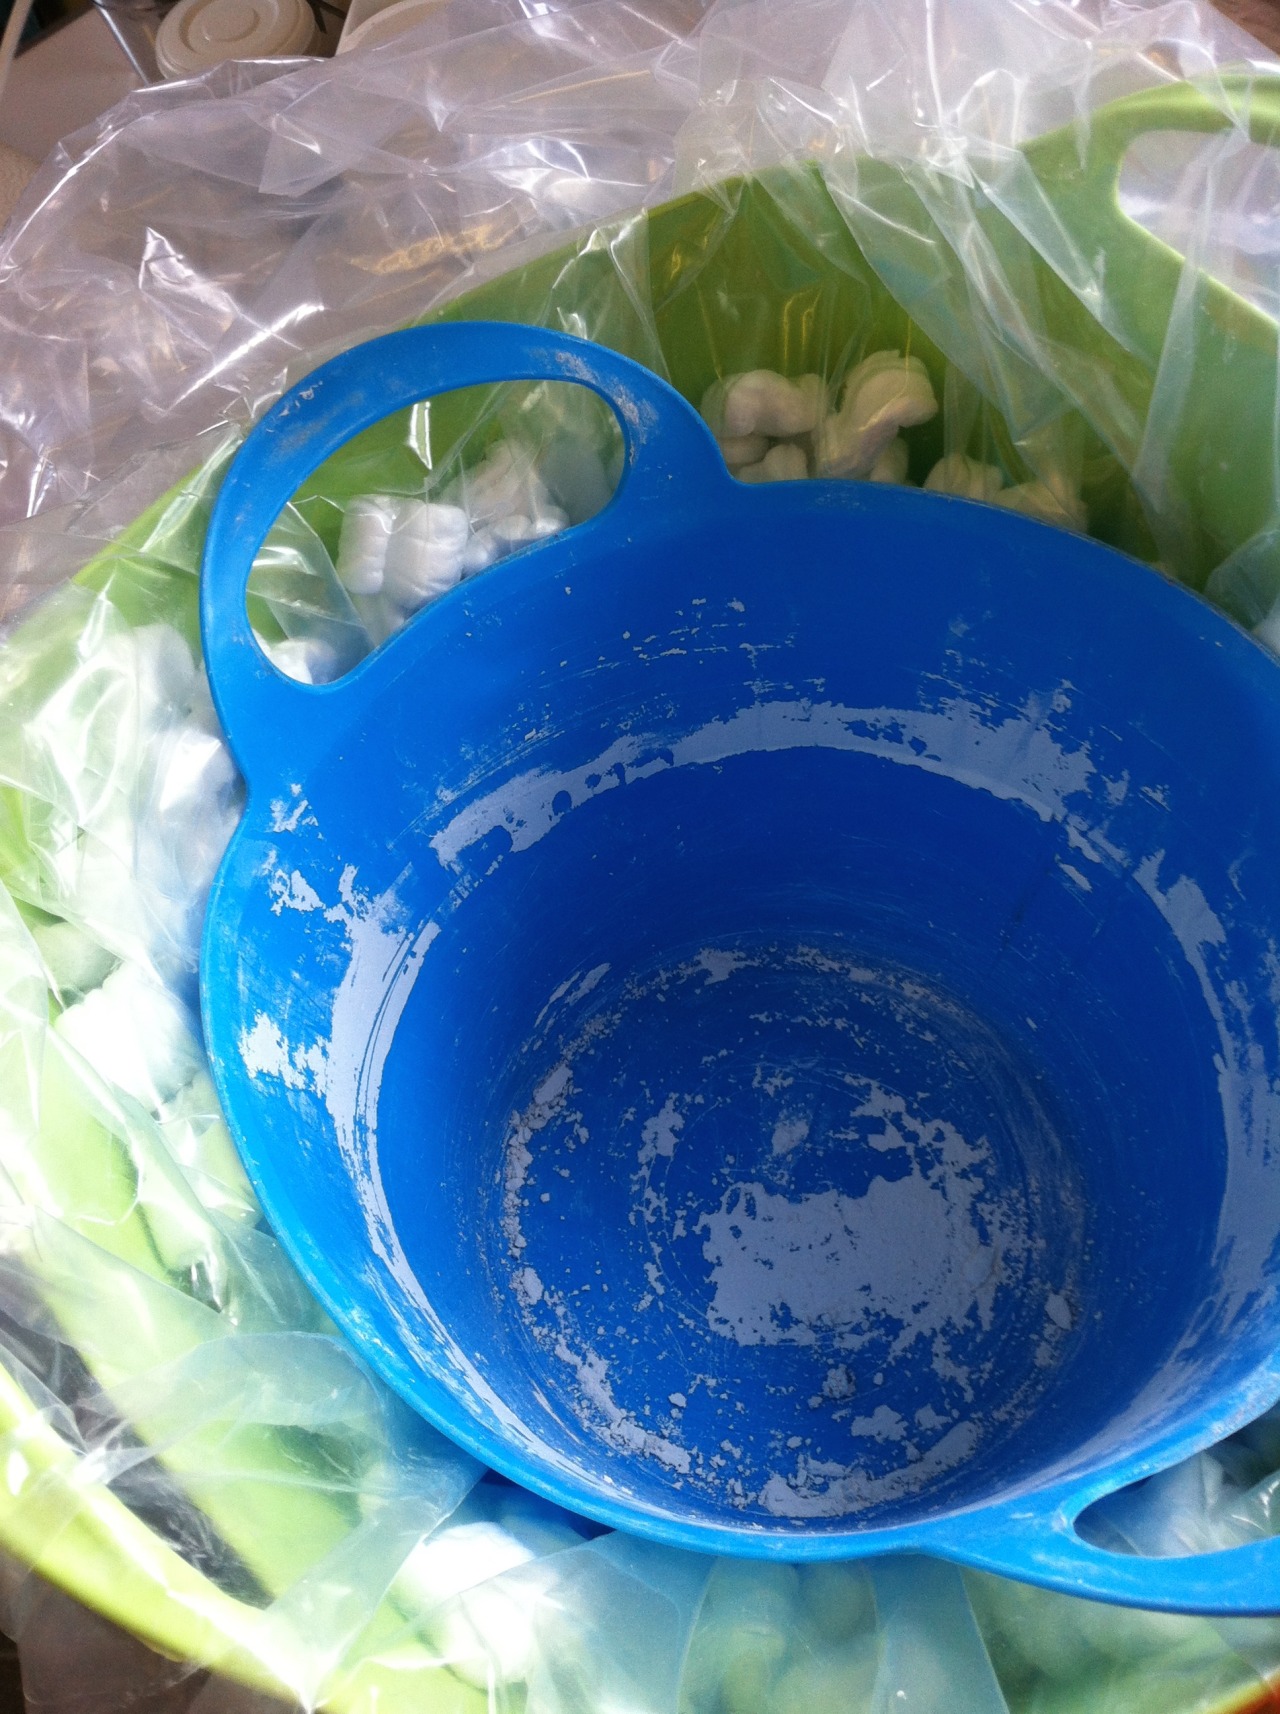
Unbeknown to me, as the plaster was setting it began to expand slightly, this would be fine if it had expanded vertically into the empty space in the bucket, but no, it expanded horizontally. The buckets I use for casting are rubbery so that it is easy to remove the plaster once set, but this new plaster pushed the sides of the bucket, which being rubbery stretched with the plaster. When I turned the bucket over after 2 hours of setting time and gave it a few knocks with the mallet and was surprised that it didn’t fall out as the fine casting plaster blocks usually do. This is when I noticed the slightly bulging sides and realised the plaster was not going to simply fall out of the bucket but was well and truly stuck!
After chiseling away at the sides for what seemed like ages, did the plaster finally give way and come out of the bucket. The bucket being rubbery simply went back to its original shape, but now I have a problem. I have a collection of different sized rubber buckets for casting and this new plaster is going to expand and thus get stuck.
I need to figure out a method of using my rubber buckets but prevent them from stretching.
Metal Casting With Precision - Paul Withey, Casting Specialist For Rolls Royce - The Naked Scientists
During my ongoing research into direct lost wax casting I came across this article featuring an interview with a casting specialist at the #Derby branch of #RollsRoyce showing their own methods of using the ancient casting technique of lost wax casting, a fascinating read.
I would love to visit Rolls Royce as they are only five minutes away and see this in person!
Bronze antiquities at Derby Museum
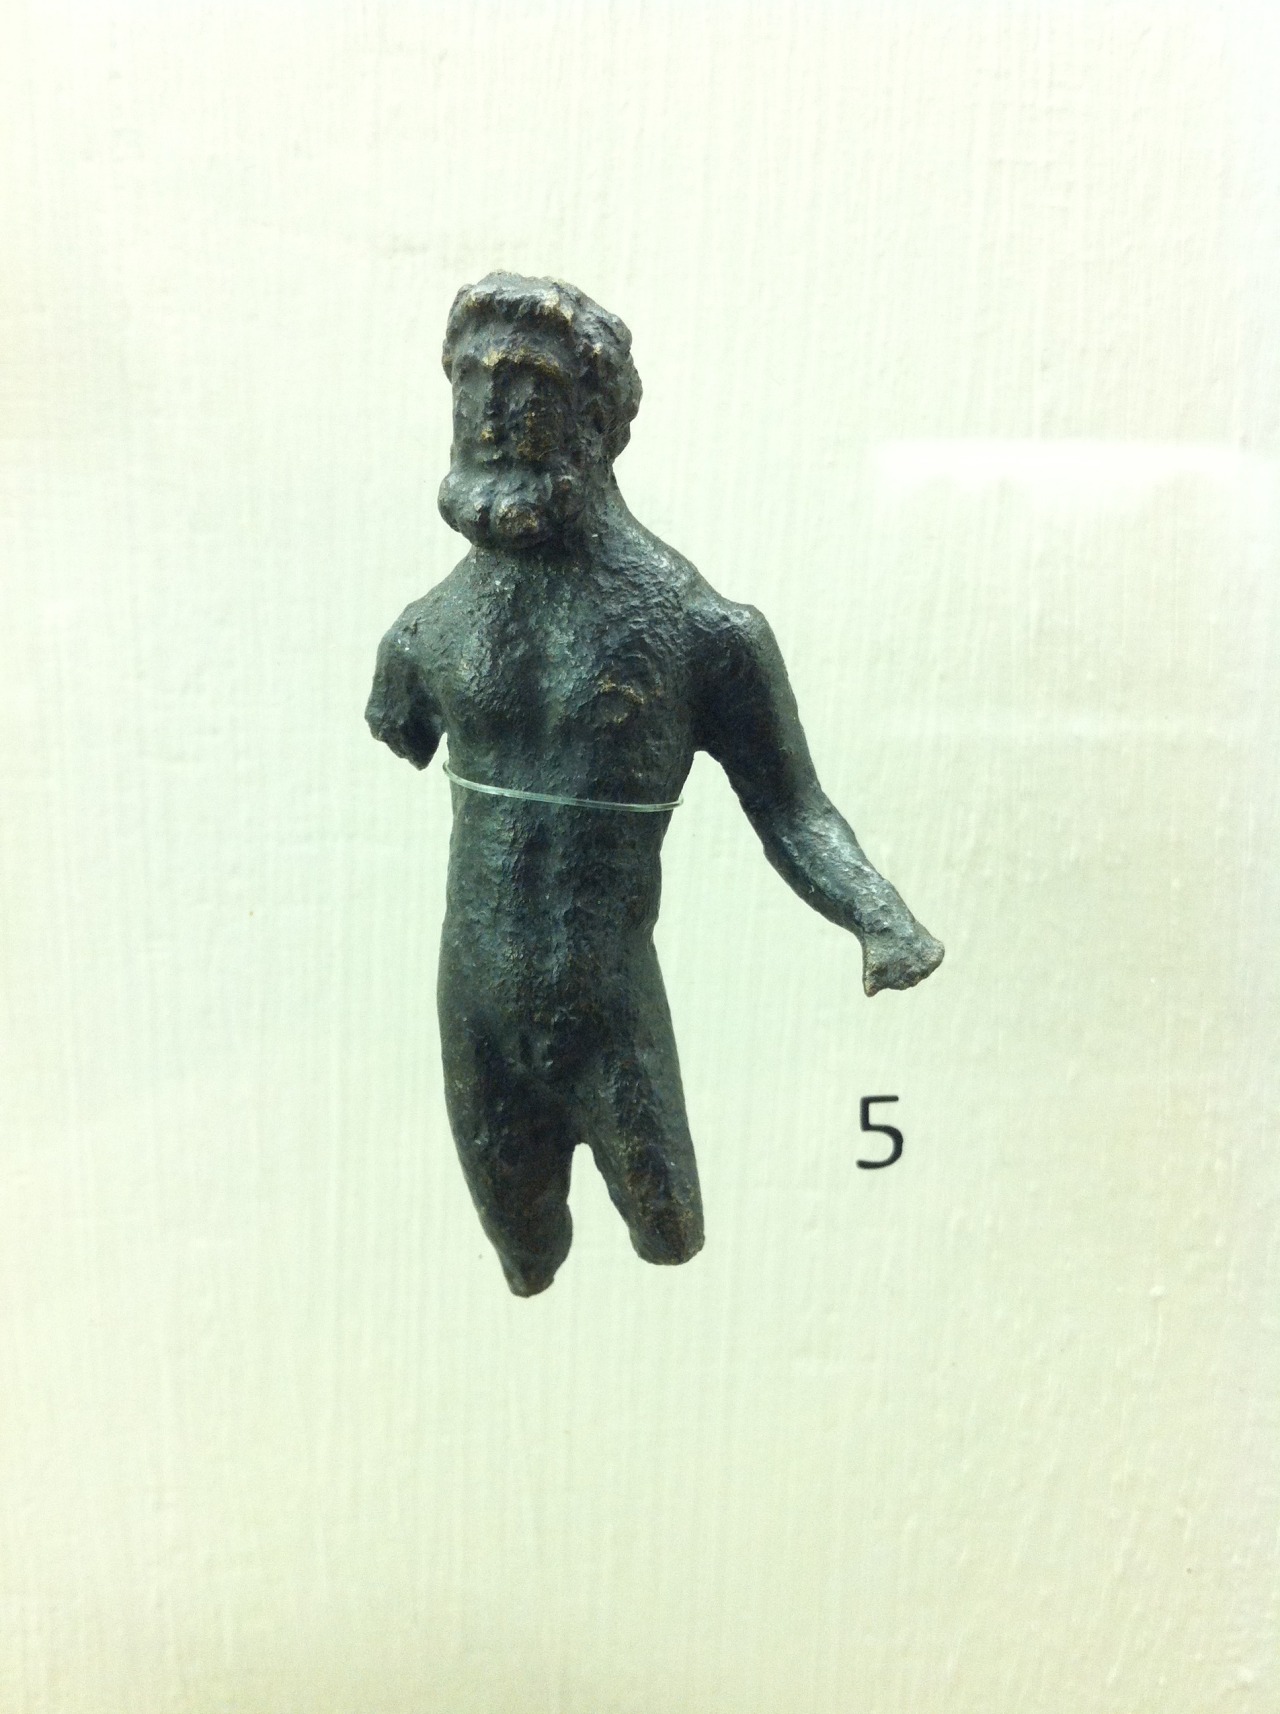


5. Bronze figure of Jupiter, the chief god of Rome. Small figures of gods were kept in shrines in the house.
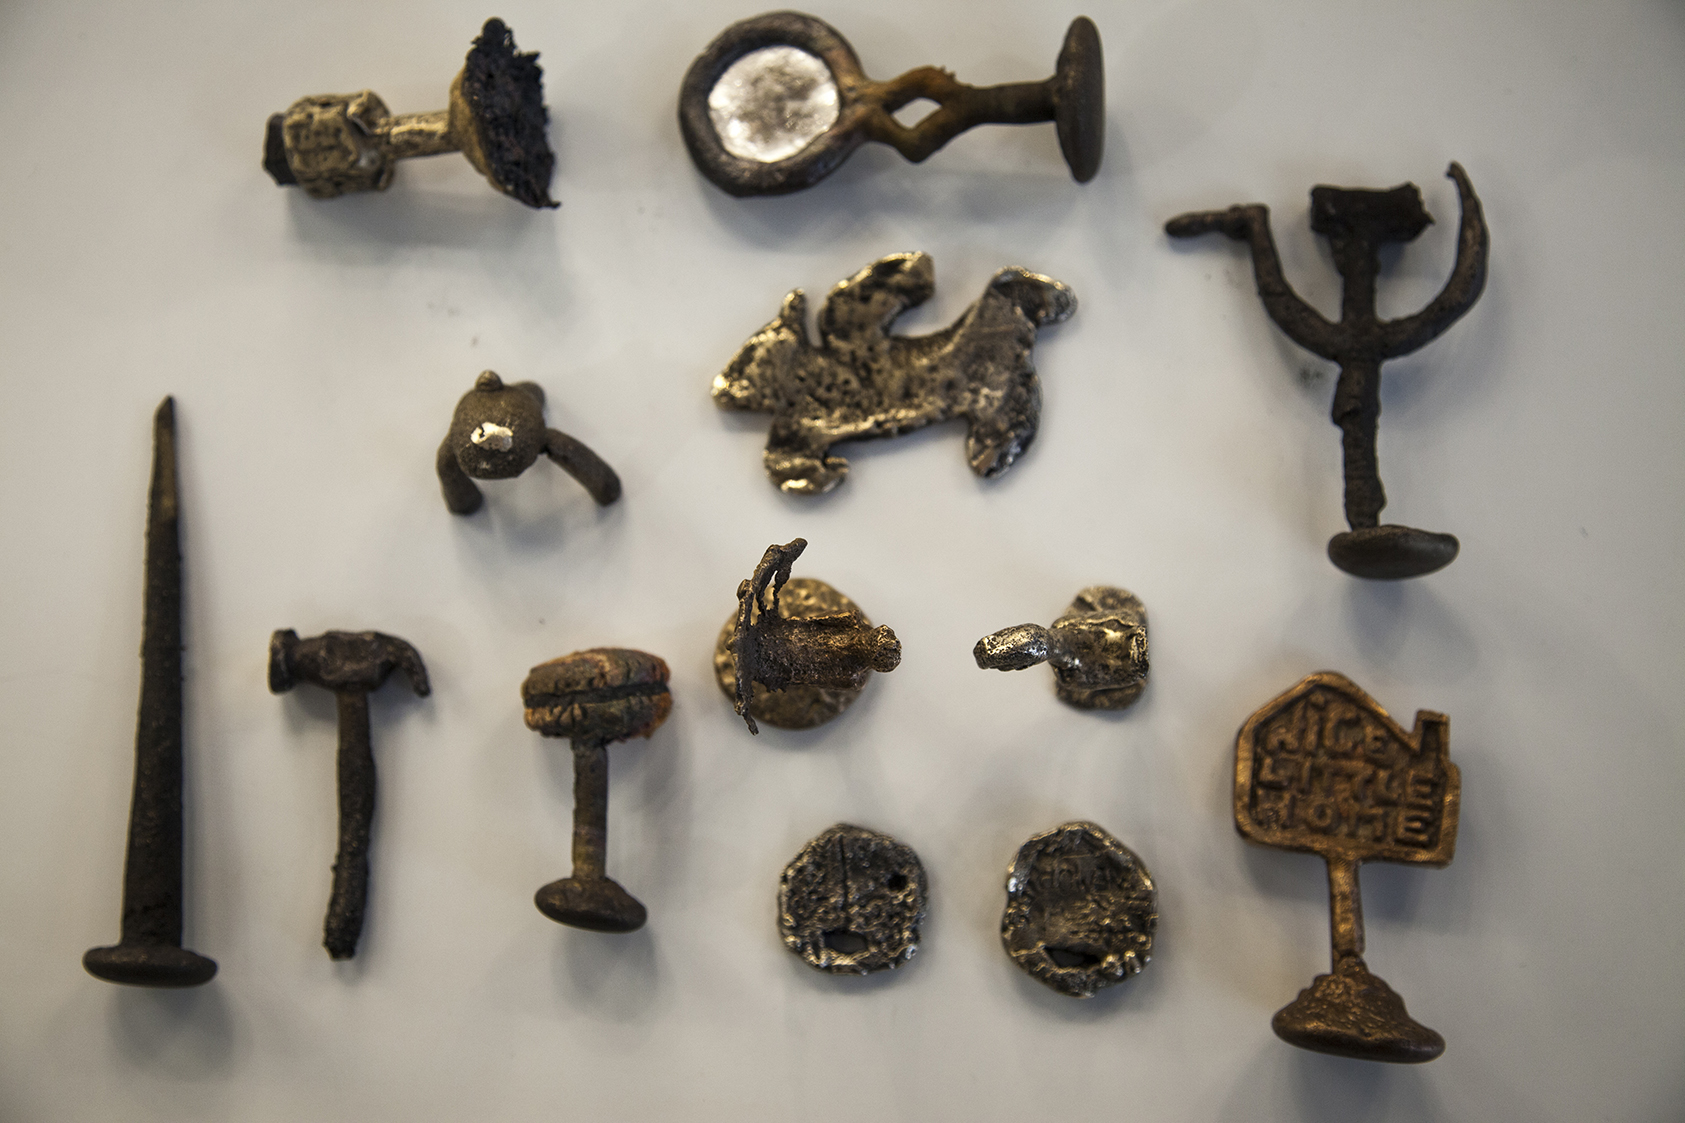
8.Pewter figure of a sea-nymph riding a seahorse. The sea-nymphs, or nereids, were attendants of the sea god Neptune. The figure is a fragment from a decorated bowl or skillet. 2nd century AD, found at Little Chester, Derby.
10. Bronze phallic amulet. This kind of amulet was often worn by soldiers. it was thought to make its wearer more powerful and virile. 1st century AD, found at Little Chester, Derby.
Roman artefacts found in Derbyshire
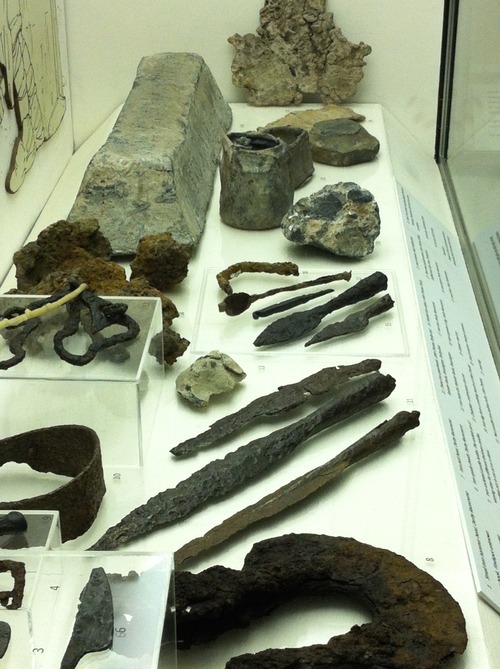
During a research trip to Derby Art Gallery & Museum, I came across a large selection of bronze items on display found within Derby City and the Derbyshire region.
This post relates to the Roman Occupation of the county and is taken from the exhibition within the museum.
“Iron, Bronze, Gold, Silver, Lead and Tin were all worked for many centuries before the Romans came to Britain. Under the Roman occupation demand for these metals led to massively increased production. In Derbyshire lead and iron were particularly important industries.
Lead - Derbyshire was an important lead mining area in the Roman period. The lead industry appears to have been based in the Derbyshire Dales, at a place called Lutudarum, perhaps near Carsington.
Twenty-nine ingots (called ‘pigs’) of Roman lead from Derbyshire have been found, weighing an average of 80-90kg each. Inscriptions on them indicate that private companies were running mines, probably under state license.
Lead was used for a variety of purposes including water tanks and pipes, weights, containers and figurines. Few of these survive as lead is usually melted down for re-use rather than thrown away.
Iron - Iron was widely used in Roman Britain. Tools included axes, hammers, saws and chisels. Soldiers needed daggers, swords, spears and harness fittings. Iron was also used for hinges, locks and keys, nails and window fittings.
Iron ore was usually obtained by open-cast mining. The ore was roasted in an open hearth and then smelted in a furnace, producing iron bloom which could then be hammered into wrought iron by a blacksmith.
Archaeologists have found fifteen iron smithing hearths at the Roman industrial area at Derby Racecourse.”
Find out more about the items on display at Derby City Art Gallery & Museum.
Luted Crucible Bronze Casting at The Institute of Making
During my research into ancient casting techniques I came across an interesting technique called “Luted Crucible Bronze Casting”.
‘Luted’ or sealed crucible casting is a low-cost and low-tech method of casting, relatively unknown outside India and West Africa. It involves sealing the raw ingredients for bronze - copper and tin - into one half of a peanut-shaped crucible made from mud. The other half contains the wax model to be cast. The whole thing is baked in a furnace, and when the metal is molten it is flipped over, and the liquid bronze fills the cavity left by the wax.
See the article in full on UCL Institute of Making